Can I do microneedling at home?
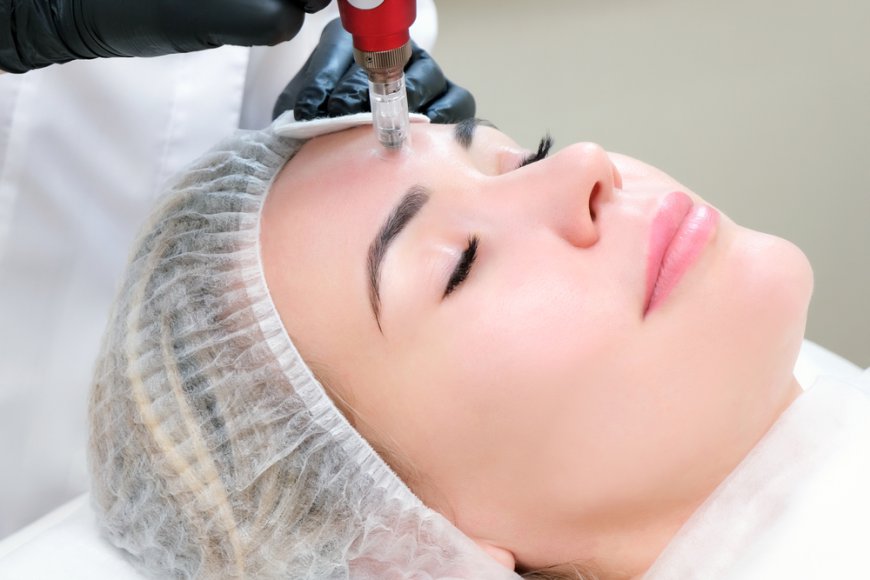
Microneedling involves using a device fitted with fine needles to create tiny, controlled punctures in the skin's surface. This process stimulates the body’s natural healing response, promoting collagen and elastin production. As a result, it can help improve skin texture, reduce fine lines and wrinkles, minimize the appearance of scars, and even enhance overall skin tone.
 laiba5656
Microneedling in Dubai also known as collagen induction therapy, has gained popularity in recent years as a non-invasive treatment for various skin concerns. Many people are now wondering, "Can I do microneedling at home?" While professional treatments offer significant benefits, at-home microneedling can also provide results if done correctly. This article will explore the effectiveness, risks, techniques, and best practices for microneedling at home.
Understanding Microneedling
Microneedling involves using a device fitted with fine needles to create tiny, controlled punctures in the skin's surface. This process stimulates the body’s natural healing response, promoting collagen and elastin production. As a result, it can help improve skin texture, reduce fine lines and wrinkles, minimize the appearance of scars, and even enhance overall skin tone.
Many people are drawn to the idea of microneedling at home because it can be a more convenient option. However, it is essential to approach this procedure with caution and a good understanding of the proper techniques involved.
Is At-Home Microneedling Effective?
Yes, at-home microneedling can be effective when done correctly. However, it's crucial to set realistic expectations. While professional treatments use higher-quality tools and needles that can penetrate deeper into the skin, at-home devices are typically designed for less intensive use. They may offer more subtle results, but with consistency and patience, you can still achieve improvements in your skin's appearance.
When you perform microneedling at home, you should use a device that is specifically designed for home use. These are usually equipped with shorter needles that safely target the outer layers of the skin without causing excessive damage. Using a professional-grade device is not recommended due to the risk of injury, infection, or other complications.
Risks and Considerations
Before starting any microneedling regimen at home, it's vital to consider the associated risks. Some potential risks include:
-
Infection: Improper sterilization of tools can lead to infections. Always ensure that your microneedling device is sanitized before and after use.
-
Skin Irritation: Overuse or improper technique can cause redness, swelling, and irritation. It's crucial to allow your skin to heal between treatments.
-
Scarring: If too much pressure is applied or if the device is used incorrectly, it can lead to scarring or other skin damage.
-
Allergic Reactions: Some people may react to products applied post-microneedling, such as serums or topical treatments.
To minimize these risks, educate yourself about proper microneedling techniques and follow all safety protocols. Consulting with a dermatologist or skincare professional before beginning your at-home treatment can also provide valuable insights and guidance.
How to Do Microneedling at Home
If you decide to proceed with at-home microneedling, follow these steps for a safe and effective experience:
1. Choose the Right Device
Select a microneedling device specifically designed for home use. Look for a tool with needles ranging from 0.2mm to 0.5mm, as these are generally safe for home treatments. Ensure that the device is of high quality and from a reputable brand.
2. Prepare Your Skin
Before microneedling, thoroughly cleanse your face to remove any dirt, oil, or makeup. Follow up with a gentle toner to ensure your skin is primed for treatment. It’s also advisable to apply a numbing cream if you are concerned about discomfort, although this is not always necessary for shorter needle lengths.
3. Sanitize Your Device
Sanitizing your microneedling device is crucial to prevent infections. Use rubbing alcohol or a disinfectant solution to clean the needles and handle of the device before and after use.
4. Begin the Microneedling Process
Hold the device at a 90-degree angle to your skin and gently glide it over the treatment area. Use light pressure, moving in different directions—horizontal, vertical, and diagonal—to ensure even coverage. Avoid going over the same area multiple times in a single session to reduce the risk of irritation.
5. Post-Treatment Care
After microneedling, your skin may be slightly red and sensitive, similar to a mild sunburn. Apply a soothing serum or hyaluronic acid to help hydrate and calm your skin. Avoid using harsh skincare products, such as retinoids or exfoliants, for at least 48 hours post-treatment.
6. Frequency of Treatment
For optimal results, it's essential to allow your skin time to heal between microneedling sessions. Generally, treatments can be done every four to six weeks, depending on your skin's condition and sensitivity. Pay attention to how your skin responds and adjust your routine accordingly.
Final Thoughts
Microneedling at home can be a rewarding experience if approached with knowledge and care. While it may not deliver the same dramatic results as professional treatments, it can still enhance your skincare routine and improve your skin's overall appearance. Always prioritize safety and hygiene, and consult with a skincare professional if you're unsure about any aspect of the process. With proper technique and patience, you can enjoy the benefits of microneedling without leaving the comfort of your home.