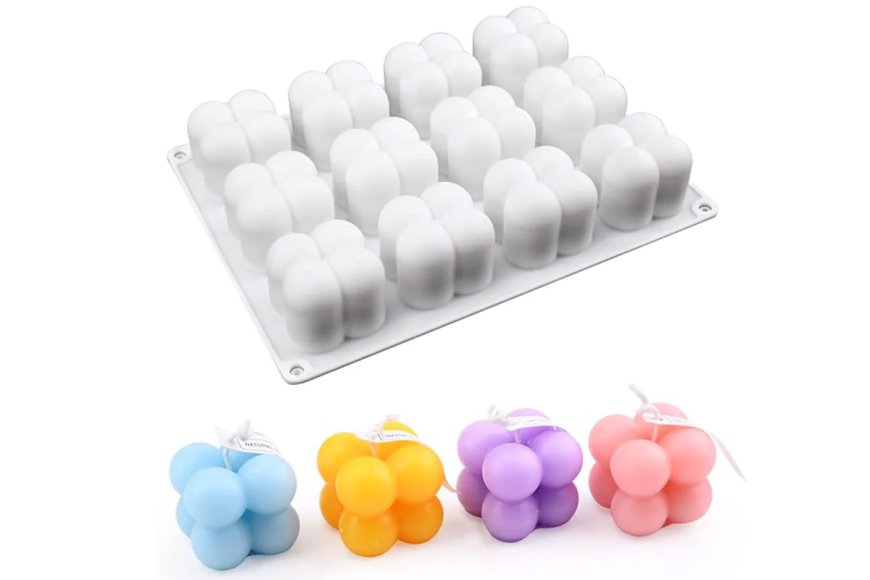
Easy Tips for Making Candles with Candle Molds & Ensuring Smooth Removal
Learn How to Make Candles from Candle Molds. Make your own unique scented candles at home. know about smooth removal of candle molds after candle making
Making candles at home is a fun and creative process, but ensuring your candles come out perfectly can sometimes be tricky. One of the biggest challenges in candle making is removing the finished candle from the Candle Mold without damaging it. This is where mold release agents come into play. They act as a barrier between the wax and the mold, making it easier to remove your candle once it has cooled and solidified. Whether you’re just getting started or have some experience, here are some simple tips and techniques to ensure smooth candle making from start to finish.
Types of Mold Release Agents
Release Sprays
Release sprays are aerosol sprays designed specifically for candle making. They create a thin, even layer on the surface of the mold, helping the candle slide out smoothly after it cools. These sprays work well for various types of molds, especially if you're using intricate or detailed designs.
Oils as Mold Release
A simple and effective alternative is to use oils like vegetable oil, coconut oil, or mineral oil. Applying a thin layer of oil inside the mold forms a barrier between the wax and the mold, making it easier to remove the candle. This option is perfect if you want a more natural approach to mold release.
Paraffin Wax Coating
Some candle makers prefer using paraffin wax as a mold release agent. By brushing a thin layer of melted paraffin wax onto the inside of the mold, it creates a barrier that helps the candle separate from the mold. This method is particularly useful for molds with complex shapes.
Step-by-Step Guide for Making Candles with Molds
Now that you know how to ensure your candles will come out easily, let’s walk through the steps of making candles with molds.
1. Prepare the Mold
Before pouring your wax, it’s important to lubricate the mold to make removal easier. Apply a light coating of oil to the inside of the mold. This step is especially important if you're using a more intricate mold or if you're trying out different mold release techniques. If your mold has a removable base, it’s best to take it off before applying oil to avoid getting oil on the wick.
2. Set the Wick
Start by cutting the wick at an angle to help feed it through the mold’s base. Once through, leave about an inch of wick hanging out. This will allow you to adjust the wick easily after the candle is set. Use a wire or paper clip to hold the wick taut and centered in the mold while you pour the wax.
3. Melt the Wax
Next, you’ll need to melt the wax. You can use soy wax, beeswax, or any other type of wax you prefer. Heat the wax until it is fully melted (usually around 140 degrees), but there’s no need to be exact. Just make sure it’s in liquid form. If you’re making several candles, you can reuse any leftover wax for future projects.
4. Add Color (Optional)
If you want to add color to your candles, now is the time to do it. You can experiment with liquid or dry dye chips to get the perfect shade. Stir the dye in well, and remember that the final color will be a little different once the wax has set, so a bit of trial and error might be involved.
5. Pour the Wax
Once the wax is melted and the dye is mixed in, carefully pour it into the mold. Pour slowly to avoid bubbles and ensure the wax fills all areas of the mold evenly. Allow the wax to cool and solidify. This can take several hours depending on the size and thickness of the mold.
6. Removing the Candle
After the wax has fully set, it’s time to remove the candle. If you're having trouble removing the candle, try placing the mold in the freezer for about 10 minutes. This can help loosen the wax and make it easier to slide out. Gently push the candle from the bottom or remove the removable base to release it from the mold.
7. Final Touches
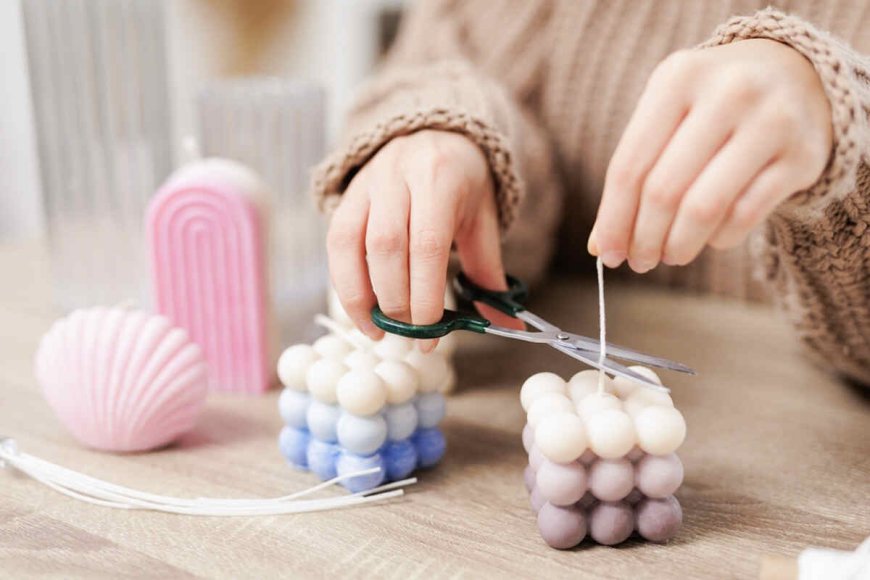
Once your candle is free from the mold, trim the wick to about 1 inch. This ensures a clean burn once you light the candle. Your candle is now ready to use!
Tips for a Hassle-Free Candle Making Experience
Use the Right Amount of Mold Release: Too much mold release can affect the candle’s surface, while too little can cause the wax to stick. Always test a small area of the mold before committing to the full application.
Check Your Mold's Surface: Some molds, like Lyba polycarbonate molds, come with a smooth, non-stick surface, meaning you may not need any mold release at all. These molds can make candle removal much easier.
Experiment with Dye: The color of your candles may vary once the wax has set. Try experimenting with different types of dye to find the best look.
About VedaOils: Your One-Stop Shop for Candle Making Supplies
When it comes to candle making, using the right materials is essential for a smooth and enjoyable process. VedaOils is a trusted supplier of high-quality candle-making products, from waxes and wicks to fragrance oils and molds. Whether you're a beginner or an experienced candle maker, VedaOils offers a wide range of products to suit all your crafting needs.
Their mold release sprays and oils are perfect for ensuring your candles come out of molds effortlessly. Plus, they provide top-grade soy wax, beeswax, and paraffin wax, so you can choose the best wax for your candle-making projects. If you’re looking to experiment with colors, VedaOils offers candle dyes and fragrance oils, allowing you to create customized candles that match your unique style.
With VedaOils, you get access to reliable, easy-to-use materials that help you achieve professional results. Their products are designed to make the candle-making process simpler and more enjoyable. Visit VedaOils to explore their full range of candle-making supplies and get started on your next creative project!
Conclusion
Making candles at home is a fun and creative process that anyone can enjoy. By using the right mold release techniques and following the basic steps, you can make beautiful, professional-looking candles with ease. Whether you’re using a simple oil, a specialized release spray, or paraffin wax, the key is to ensure a smooth mold release for the best results. With practice, you'll be able to create candles in your favorite shapes and colors, perfect for any occasion. Enjoy the process, and happy candle making!


