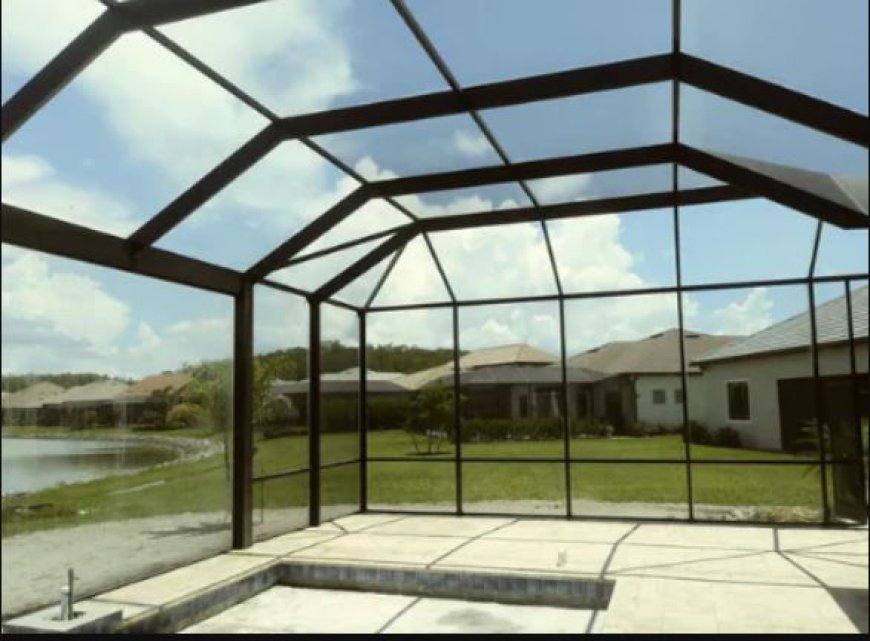
DIY Screen: A Comprehensive Guide to Creating Your Own Screen Solutions

Creating your own DIY screen solutions can be a rewarding project, whether you're looking to enhance your home's ventilation, improve aesthetics, or protect against insects. This guide will walk you through the various types of screens, materials needed, and step-by-step instructions to help you successfully complete your DIY screen project.
Understanding the Purpose of Screens
Before diving into the DIY aspect, it’s important to understand the primary functions of screens. Screens serve several purposes, including:
Insect Protection: Keeping pesky bugs out while allowing fresh air in.
Enhanced Ventilation: Improving airflow in enclosed spaces like porches or sunrooms.
Privacy: Offering a barrier between your outdoor space and prying eyes.
Aesthetic Appeal: Adding a decorative element to windows, doors, or outdoor areas.
Types of DIY Screens
There are various types of screens you can create, depending on your needs:
1. Window Screens
These are designed to fit over windows, allowing fresh air to circulate while blocking insects.
2. Door Screens
Door screens can be mounted on exterior doors to keep bugs out while letting air flow in.
3. Patio or Porch Screens
These larger screens can enclose patios or porches, providing protection from insects while allowing you to enjoy the outdoors.
4. Custom Screens
If you have unique requirements, you can create custom screens tailored to specific areas of your home, such as for unusual-shaped windows or doors.
Visit here for more details
Materials Needed for Your DIY Screen Project
The materials you’ll need will depend on the type of screen you’re making. Here’s a general list to get you started:
Screen Frame Material: Aluminum or wood framing materials are popular choices.
Screen Mesh: Fiberglass or aluminum mesh is commonly used for durability and visibility.
Screen Clips or Fasteners: These help secure the screen in place.
Tools: Basic tools such as a measuring tape, saw (if using wood), staple gun, utility knife, and a drill.
Measuring Tools: A ruler or square to ensure accurate measurements.
Step-by-Step Guide to Making a DIY Screen
Step 1: Measure Your Space
Start by measuring the area where you plan to install the screen. For windows, measure the height and width of the window frame. For doors, measure the height and width of the door frame. If you’re creating a larger screen for a porch, measure the dimensions of the space you want to enclose.
Step 2: Choose Your Frame Material
Select the frame material based on your preferences and the look you want to achieve. Aluminum frames are lightweight and durable, while wooden frames offer a classic aesthetic but may require more maintenance.
Step 3: Cut the Frame
Using your measurements, cut the frame material to size. If you’re using wood, a miter saw can help you achieve clean, angled cuts at the corners. For aluminum frames, you may need a hacksaw or specialized frame cutter.
Step 4: Assemble the Frame
Join the corners of the frame using screws or corner brackets. Ensure that the frame is square by measuring the diagonals; both should be equal. This step is crucial for a professional-looking screen.
Step 5: Attach the Screen Mesh
Once the frame is assembled, lay the screen mesh over the frame. Make sure to leave enough excess mesh on all sides for fastening. Use a staple gun to secure the mesh to the frame, starting at the center of each side and working your way outwards. This technique helps keep the mesh taut and prevents it from sagging.
Step 6: Trim Excess Mesh
After the mesh is secured, use a utility knife to carefully trim away any excess mesh, ensuring you don’t cut into the frame.
Step 7: Install the Screen
Now that your screen is complete, it’s time to install it. Depending on your design, you can use screen clips, hinges, or a sliding mechanism to attach the screen to the window or door frame. For larger screens, consider using brackets or tracks for stability.
Step 8: Test Your Screen
Once installed, test the screen to ensure it fits properly and functions as intended. Check for gaps or areas where insects may enter and adjust as necessary.
Maintenance Tips for DIY Screens
To ensure your DIY screens last for years, consider the following maintenance tips:
Regular Cleaning: Clean the screen mesh periodically with a soft brush or vacuum to remove dust and debris.
Inspect for Damage: Regularly check for tears or holes in the mesh, and repair them promptly to maintain effectiveness.
Repaint or Refinish: If you used wood for your frame, consider repainting or refinishing it every few years to protect against weathering.
Benefits of DIY Screens
Creating your own screens comes with numerous advantages:
Customization: You can tailor the size, shape, and design to fit your specific needs and preferences.
Cost-Effective: DIY screens can save you money compared to purchasing pre-made options.
Conclusion
Creating your own DIY screens is a practical and rewarding endeavor that enhances your living space. Whether you're interested in improving airflow, adding privacy, or keeping insects at bay, a custom screen can meet your needs. By following the steps outlined in this guide, you can successfully design, build, and install your own screens, enjoying the benefits they bring to your home.
For more information on screen materials and additional DIY project ideas, visit myubi.net and explore our selection of products designed to make your home improvement projects easier and more enjoyable. Happy screening!

 myubinetus