How to Turn a Chaotic Garage Into a Neat Space with Custom Shelves

Garages tend to become the catch-all for things we don’t have room for elsewhere. From tools and sports gear to seasonal decorations and random odds and ends, it’s easy for this space to spiral into chaos. If you’re tired of navigating the clutter, custom garage shelves can help. With the right setup, you can transform your garage into a neat, functional space that works for you. Here’s how to make it happen.
Step 1: Clear Out the Clutter
Before you add shelves or organize anything, start with a clean slate. Pull everything out of the garage and sort your belongings into three piles: keep, donate, and toss. Be ruthless—if you haven’t used something in years, chances are you won’t miss it. This decluttering step is essential because it gives you a better idea of how much storage space you actually need.
Step 2: Plan Your Layout
Every garage is unique, so it’s important to plan your shelving system based on the space you have. Take measurements and think about how you use your garage. Do you need a place to store tools and equipment? Maybe you need shelves for bulky items like coolers or storage bins. By designing custom garage shelves, you can maximize vertical space and create a layout that fits your needs perfectly.
Step 3: Use Vertical Space Wisely
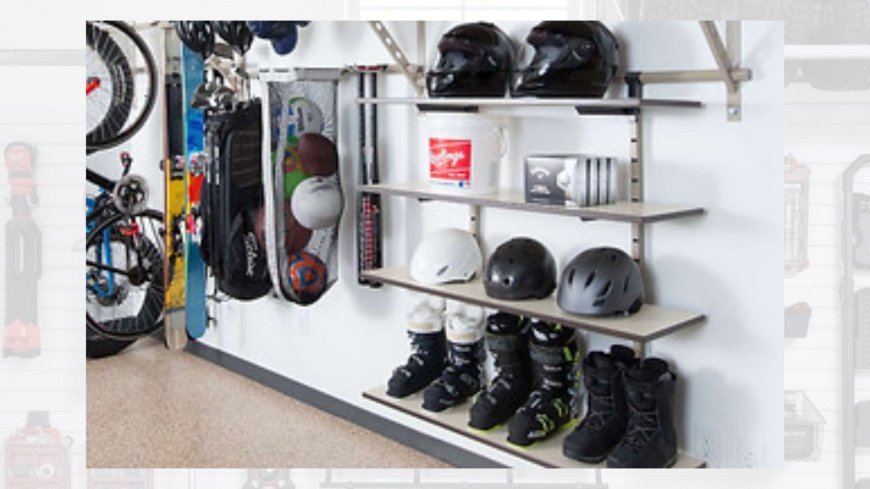
One of the biggest mistakes people make is underusing their walls. Custom shelves let you take advantage of vertical storage, freeing up floor space for other activities, like parking your car or setting up a workbench. Install taller shelves for rarely-used items, such as holiday decorations, and keep everyday essentials at eye level. This simple strategy can make your garage feel twice as spacious.
Step 4: Add Adjustable Shelving
Needs change over time, so flexibility is key. Adjustable custom garage shelves allow you to reconfigure your storage as necessary. If you add new tools or need more space for sports equipment, you can easily move shelves up or down. This adaptability ensures that your garage stays organized no matter how your storage needs evolve.
Step 5: Label and Categorize
Once your shelves are in place, group similar items together. For example, store all gardening supplies on one shelf and dedicate another for power tools. Adding labels to bins or shelves can make it even easier to find what you need. Trust me, you’ll thank yourself later when you’re not digging through random boxes looking for that one screwdriver.
Step 6: Prioritize Accessibility
When organizing your custom garage shelves, think about how often you use certain items. Frequently used items like cleaning supplies or bike helmets should be within easy reach. On the other hand, seasonal or rarely-used items can go on higher or less accessible shelves. This approach saves time and minimizes frustration.
Step 7: Incorporate Heavy-Duty Materials
Garage shelves need to be sturdy enough to handle heavy items like power tools, paint cans, or car parts. Opt for heavy-duty materials like steel or high-quality wood for your custom shelves. These materials can support more weight and are built to last, saving you the hassle of replacing flimsy shelving later.
Step 8: Add Hooks and Pegboards
Custom shelves pair perfectly with other storage solutions. Hooks and pegboards can help you organize smaller items like extension cords, hand tools, or even bikes. When combined, these elements create a streamlined storage system that keeps your garage clutter-free.
Step 9: Keep It Tidy
The key to maintaining an organized garage is regular upkeep. Set aside a few minutes every month to put items back where they belong, wipe down shelves, and get rid of anything you no longer need. Staying on top of maintenance prevents clutter from creeping back in.

 baygarage