Outdoor Emergency Lighting Fixture Installation Tips for Maximum Efficiency!
 shineled
When it comes to keeping your property safe and secure, outdoor emergency lighting is an essential part of the setup. A well-installed lighting system can provide peace of mind and ensure safety in case of an emergency. Whether you're installing lights for a home, business, or even LED lights for a convenience store, the process is largely the same.
But to make sure you're getting the most out of your fixtures, a few tips and tricks can go a long way.
Plan It Out—Don’t Wing It!
Before you even think about getting on a ladder, you need a solid plan. Take some time to figure out the best locations for your outdoor emergency fixture. You want to ensure that the lights cover the key areas like entrances, walkways, and dark corners. It’s not just about slapping a light in any random spot. Proper positioning will maximize visibility and efficiency.
Check if there are any obstacles, like trees or awnings, that could block the light. You should also consider the range and direction of the lights. A wide-angle beam works best for larger spaces, while more focused beams might be ideal for specific points. Planning ahead will save you time and effort down the road.
Go LED for Maximum Efficiency
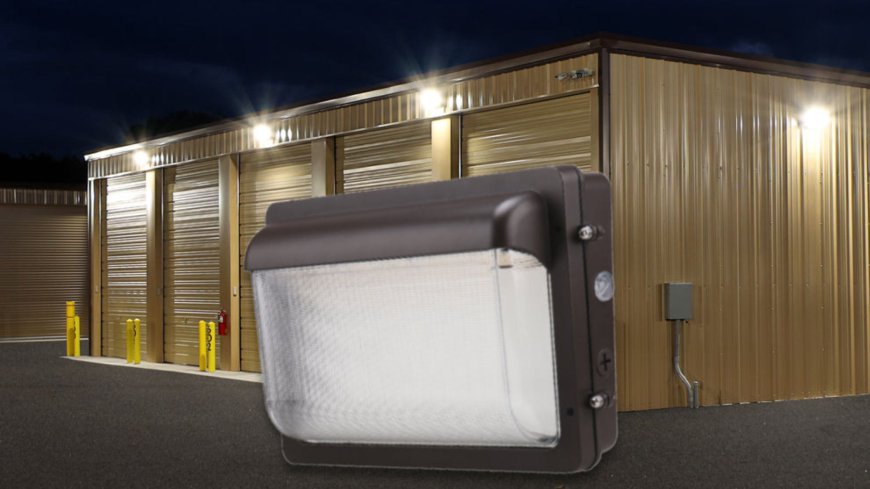
Not all lights are created equally. LED lights are a top choice when it comes to energy efficiency and durability. These lights consume less power, which means you can leave them on longer without worrying about a spike in your energy bill. They also last longer than traditional bulbs, cutting down on maintenance costs. If you’re trying to light up a large area, like a parking lot or the exterior of a store, LED lights are perfect for the job.
Plus, many LED emergency lights come with built-in motion sensors or timers. This feature ensures that the lights only come on when needed, boosting both efficiency and safety.
Don’t Skimp on the Wiring
Wiring might not seem like the most exciting part of the project, but it's critical for ensuring the lights work properly. Use the correct gauge wiring for your outdoor emergency lighting fixture to prevent short circuits or power surges. And be sure to protect the wiring from the elements. If you're burying wires, use proper conduit to shield them from moisture and pests.
Another thing to keep in mind is grounding. All outdoor lights should be properly grounded to reduce the risk of electrical fires or shocks. If you’re unsure about how to handle the wiring, it's always a good idea to consult a professional electrician. Better safe than sorry!
Get Smart with Placement
Think about the height at which you’re placing your fixtures. Mounting your lights too low won’t give you the coverage you need, while placing them too high could diminish their effectiveness. A good rule of thumb is to mount your lights about 8 to 12 feet off the ground.
Also, consider the direction your lights are pointing. Avoid aiming them directly into people’s eyes or into windows, as this can cause glare and decrease safety. Instead, angle the lights to illuminate walkways and entry points without creating blind spots.
Test Everything Before Finalizing
Once your lights are installed, don’t assume everything works perfectly right off the bat. Test each fixture under various conditions. Does it cover the intended area? Is brightness sufficient without being blind? Are there any shadows or dark spots you didn’t expect?
Check the performance during both day and night. Outdoor emergency fixtures should automatically adjust or activate in low-light conditions, so make sure the sensors are functioning as they should. If you notice any issues, it’s best to address them now before an emergency strike.
With the right installation and a bit of regular maintenance, your outdoor emergency lighting fixture will serve you reliably when you need it most.