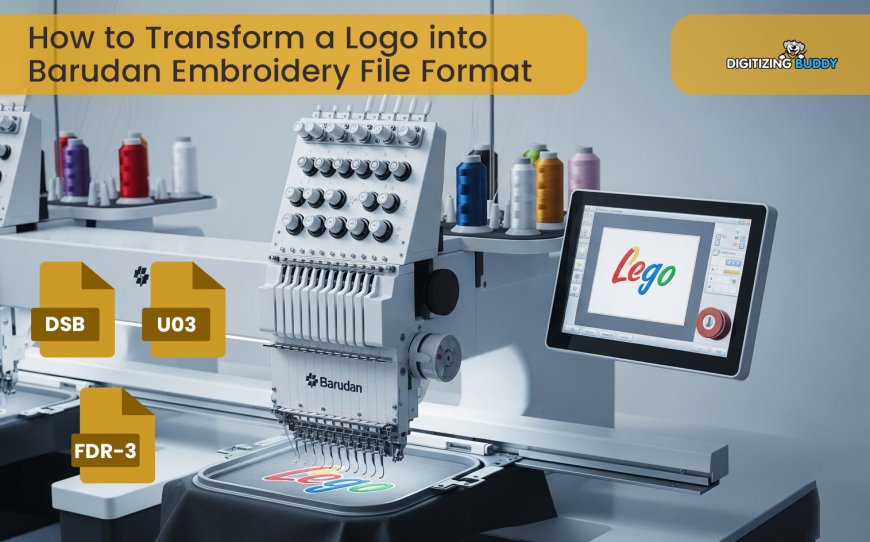
Convert Designs to Barudan Embroidery File Format Easily
Converting any logo or design into a high-quality BAi file is the key to professional embroidery on Barudan machines.
Introduction
You’ve landed a great order—corporate polos with a crisp company logo, team caps with a mascot, or custom jackets with a bold graphic—and your Barudan multi-head is ready to fly through production. There’s just one small catch: the design files you have aren’t in the right format. Most artwork arrives as AI vectors, JPGs, PNGs, or files from other brands (PES, JEF, DST), and Barudan machines run happiest on their native BAi format. Converting everything properly into BAi is what turns a good-looking digital design into flawless, high-speed embroidery that looks expensive and consistent across hundreds of pieces. Skip the right steps and you’ll fight registration drift, thread breaks, and visible jumps. Do it thoughtfully and your Barudan will purr, your output will look pro, and your turnaround times will shrink. Here’s a clear, no-nonsense guide to convert logo to Barudan Embroidery file (and other designs) so your next run is smooth, fast, and picture-perfect.
Why Barudan Loves Its Native BAi Format
BAi is Barudan’s own language for their commercial machines (BEKT, BEXT, and similar series). It’s more than stitch coordinates—it packs in color assignments, hoop size recommendations, optimized trim commands, tension hints, and sequencing preferences. When the machine loads a native BAi file, it sets itself up automatically: correct thread order, smart trims that hide tails inside satin borders, and short jumps that keep the front clean. Generic formats like DST force the machine to guess a lot of that information, which leads to longer jumps, surface trims, extra manual color changes, and occasional misalignment. Native BAi files cut setup time, reduce thread breaks, and deliver tidier backs—small details that add up fast on high-volume orders.
Start with the Highest-Quality Source Artwork
The embroidery can only be as good as the artwork you feed it. Always push for the original vector file (AI, EPS, SVG) from the client or designer. Vectors scale without quality loss, so the same logo looks flawless at 2 inches on a sleeve and 10 inches on a jacket back. If only raster (JPG/PNG) is available, demand 300 DPI minimum with sharp contrast. Open it in Inkscape (free) or Illustrator, remove backgrounds, delete stray pixels, merge overlapping shapes, and reduce colors to six or fewer early. This prep step prevents 90 % of common stitching problems before conversion even begins.
Simplify Aggressively for Embroidery Reality
Barudan machines love bold simplicity. Fine lines, tiny text, and subtle gradients don’t translate well into stitches. Keep minimum line width at 1 mm and text at least 8 mm tall. Merge similar colors, eliminate small details that won’t show in stitches, and increase contrast so edges are unmistakable. A clean logo stitches beautifully; a busy one turns into a mess. This simplification step is where most quality is either won or lost—take the time to do it right.
Choose Software That Handles BAi Well
Tajima’s Pulse software (widely used on Barudan machines) exports native BAi files with full compatibility. Wilcom Hatch offers excellent vector import and conversion features. Embrilliance Enthusiast is more budget-friendly and produces reliable BAi output. Ink/Stitch (free) can handle basic conversions but requires more manual work. Select the tool that matches your budget and how much control you want over the final file.
Add Proper Underlay for Stability
Underlay is the foundation that stops puckering and keeps stitches sitting proud. Add zigzag under large fills, edge-run along satin columns, and lattice on stretchy fabrics. For Barudan machines, medium-density underlay works best on most uniforms. On fleece or towels, double the underlay to keep stitches on the surface. Skipping or using the wrong type is the number-one reason logos look sunken or uneven.
Dial Density and Pull Compensation
Satin stitches should sit at 0.38–0.42 mm density for crisp edges. Tatami fill works at 4–4.5 mm spacing for solid areas. Add 12–18 % pull compensation for knits so shapes stay true. Test on the exact fabric you’ll use—one scrap run shows exactly what adjustments are needed.
Sequence Colors and Clean Jumps
Stitch from the center outward, light to dark, small to large. Group same-color areas to reduce thread changes. Convert long jumps into hidden travel runs on the back. Proper sequencing keeps fabric flat and cuts production time significantly.
Preview and Test Thoroughly
Always preview in 3D. Spin the design, zoom in, watch the needle path. Then test stitch on scrap fabric matching your final garment. Run 100 stitches. Check tension, registration, and detail clarity. One quick test reveals issues that would ruin dozens of pieces.
Exporting the Final BAi File
Save as BAi with multiple sizes included—small for pockets, medium for chests, large for backs. This flexibility saves time during production runs.
When to Outsource for Complex Designs
Tight deadlines or intricate logos? Professional digitizers can save you hours. Services like Digitizing Buddy deliver high-quality BAi files quickly with free revisions and previews.
Common Mistakes to Avoid
Using raster without vector cleanup. Skipping underlay on knits. Too many colors (thread chaos). No test stitch (production disasters). One careful conversion avoids them all.
Conclusion
Converting any logo or design into a high-quality BAi file is the key to professional embroidery on Barudan machines. Start with clean artwork, simplify, add proper underlay, test thoroughly, and export correctly. The result is embroidery that looks sharp, feels premium, and lasts through countless washes.
Grab your next design today, follow these steps, and stitch your first perfect piece tomorrow. Your Barudan is ready—give it the clean BAi file it deserves and watch your production run like a dream.