Linksys E2500 Configuration – Step-by-Step Setup Guide
Learn how to complete Linksys E2500 configuration quickly using the web-based setup page. This guide explains login steps, WiFi settings, and troubleshooting tips to help you build a secure and stable home network.
Configuring your Linksys E2500 router is simple when you follow the correct setup process. Whether you are installing the router for the first time or reconfiguring your network, accessing the web-based interface allows you to customize internet and wireless settings easily.
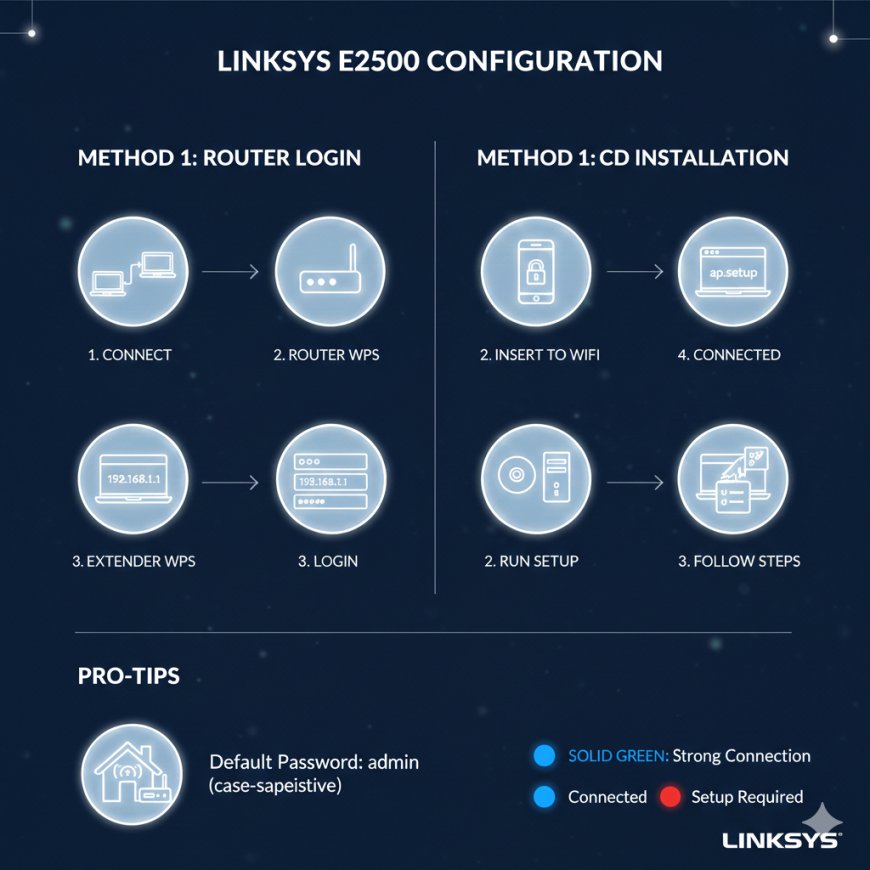
To begin the Linksys E2500 configuration, first connect your router to the modem using an Ethernet cable and power it on. Once the router boots properly, connect your computer or smartphone to the router’s network either wirelessly or through a LAN cable. After the connection is established, open a web browser and enter 192.168.1.1 in the address bar to access the login page. Use the default password “admin” to log in and reach the dashboard.
Inside the setup panel, configure your internet connection type according to your ISP requirements. Most providers use automatic dynamic IP detection, but some connections may require PPPoE credentials. After setting the internet connection, navigate to the wireless section and change the default WiFi name and password. Using WPA2 security and a strong password helps protect your network from unauthorized access.
Once all settings are saved, restart the router so the changes take effect. If you experience slow speeds or connection issues, try updating the firmware, repositioning the router for better signal coverage, or performing a factory reset to restore default settings. These steps usually resolve common configuration problems.
By completing the Linksys E2500 configuration correctly, you can enjoy a stable, secure, and fast wireless network for your home or office. Proper setup not only improves performance but also ensures your network remains protected from potential threats.