Backyard Fruit Trees: Bare-Root Planting Guide | East Bay
Planting backyard fruit trees this winter? Follow our step-by-step bare-root guide for East Bay gardens, from siting to first-year care.
 nurserye835
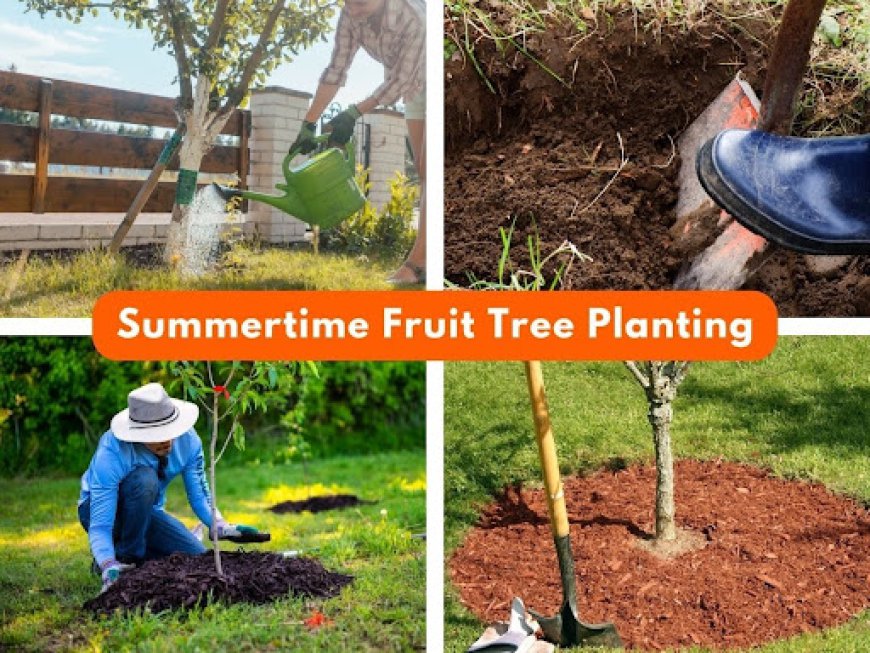
How To Plant Bare-Root Backyard Fruit Trees In East Bay Gardens
Few things beat the satisfaction of picking fresh fruit from your own backyard. Planting bare-root backyard fruit trees during the cool winter months is an increasingly popular, budget-friendly way to bring homegrown flavor to your table, boost your landscape's beauty, and support local pollinators. Here's our guide to getting backyard fruit trees off to a strong start in Bay Area gardens.
Understanding Bare-Root Fruit Trees
A bare-root tree looks like little more than a bundle of sticks, so it takes some imagination to picture the future harvest it will produce. These trees are sold without a pot or soil around their roots, which keeps them lightweight, easy to transport, and generally more affordable than potted options. The tradeoff is that their exposed root systems are fragile; they need careful handling in transit and should go in the ground quickly for the best chance at thriving.
When and How to Plant
Potted fruit trees can go in the ground almost any time of year in San Leandro and Alameda County gardens, but bare-root trees do best when planted during their winter dormancy, roughly late January through early March in our area. Planting during this window lets your new backyard fruit tree establish roots before spring growth kicks in, giving it a solid foundation for whatever weather comes next.
Choose the Right Location
Sunlight: Look for a spot that gets at least 6 hours of sun daily, ideally 8. Most fruit trees need full sun to produce well.
Soil drainage: Good drainage is arguably the single most important factor in fruit tree health. Run a simple percolation test: dig a hole, fill it with water, and time how long it takes to drain.
-
Draining in 20 minutes to a few hours is generally fine.
-
Draining in just a few minutes means you'll likely need to amend the soil with organic matter and water more frequently.
-
Draining that takes several hours or longer suggests you should pick a different spot or use a raised bed to improve drainage. For deeper soil questions, ask a nursery associate or consult an Alameda County master gardener.
Space: Consider the tree's mature height and canopy spread before planting. Keep it well clear of buildings, fences, and other plants that might compete for nutrients and light.
Prepping the Planting Site
Dig the hole: Make it twice as wide as the tree's root system and deep enough to comfortably fit the longest roots.
Prepare the soil: Loosen the native soil at the bottom of the hole and mix in a few handfuls of organic compost if you'd like. Amend the remaining backfill soil to roughly a 50/50 mix based on what your percolation test revealed.
-
Fast-draining, loamy soil benefits from a soil conditioner that adds structure.
-
Slow-draining clay soil benefits from small fir mulch, peat moss, or coconut coir to boost organic matter and aeration. A raised planting area with a raised bed planting mix is another good option for heavy clay.
Soak the roots: Before planting, soak the tree's roots in a shallow bucket of water for up to an hour, especially if they've dried out during transport.
Planting Your Tree
Positioning: Build a firm cone of soil in the center of the hole and spread the roots gently over it. The graft union, the slightly swollen area on the lower trunk where the fruiting variety was grafted onto the rootstock, should sit 2–4 inches above ground level to prevent rot.
Pro tip: Lay your shovel handle across the hole to check whether the tree is sitting too high or too low before you backfill.
Backfilling: Add the amended soil back into the hole, firming it around the roots and breaking up large clumps as you go. A helper holding the trunk steady makes this easier. Once the hole is mostly filled, add water to settle the soil and remove air pockets. If the tree settles too low, gently work it back up before finishing the backfill.
Water again: Use leftover soil to build a donut-shaped berm around the base, creating a watering basin. Water slowly and gently, keeping the trunk dry to avoid fungal issues.
Caring for Your New Backyard Fruit Tree
Mulch: Spread 3-4 inches of wood chip mulch around the base, leaving a "donut hole" gap right at the trunk. Mulch conserves moisture, suppresses weeds, and improves soil over time.
Watering: Keep soil consistently moist, not soggy through the first growing season. Water deeply once a week, more often during hot or dry stretches.
Pruning: Bare-root trees usually arrive with a few long, thin branches, so there's no need to prune on planting day. For guidance on shaping your tree going forward, check out these pruning tips from Dave Wilson Nursery's Tom Spellman (pruning info starts around the 15-minute mark).
A Gift to Your Future Self
Planting backyard fruit trees is an investment in your household and your local ecosystem alike. Follow these steps, and your tree will establish well, setting you up for years of homegrown fruit.
At Evergreen Nursery, we carry a wide selection of bare-root backyard fruit trees suited to East Bay conditions, and our staff can help you choose the right variety for your space, whether you're after apple, apricot, cherry, jujube, nectarine, peach, pear, persimmon, or plum trees. Stop by, and we'll help you find the perfect fit.