DST File for Embroidery: Everything You Need to Know
Learn what a DST file for embroidery is, how it works, and why it’s essential for machine embroidery. Understand the creation process, benefits, and tips for smooth stitching.
 matthewdavis
Machine embroidery has revolutionized the way designs are stitched on clothing, caps, jackets, and promotional items. From small businesses to large-scale embroidery shops, using computerized embroidery machines ensures professional, consistent, and high-quality results. But to make this possible, machines need specialized file formats to guide them. One of the most widely used formats in the industry is the DST file for embroidery.
Whether you are new to embroidery or a professional looking to refine your process, understanding the DST file and how it works is key to achieving flawless results. In this guide, we will break down everything you need to know about DST files for embroidery, including their purpose, creation, advantages, and tips for smooth operation.
What Is a DST File for Embroidery?
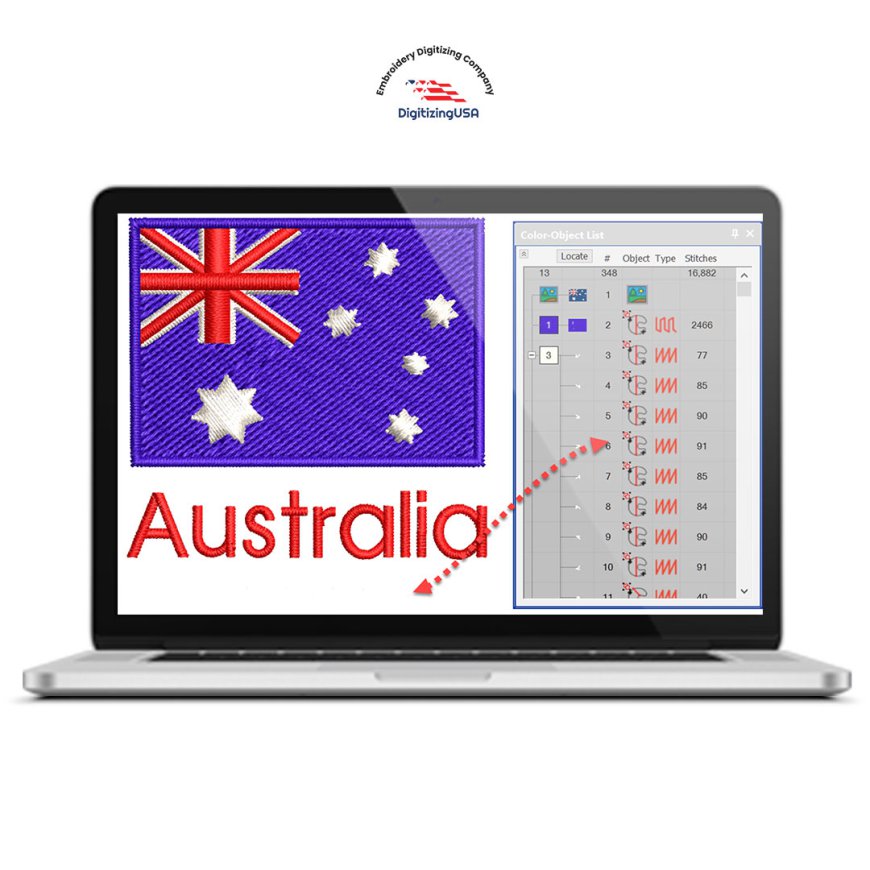
A DST file for embroidery is a digital file that provides stitch instructions for embroidery machines. Unlike traditional image files such as JPG or PNG, a DST file does not store colors or graphics. Instead, it contains detailed instructions that tell the machine:
-
Where each stitch should be placed
-
The direction of each stitch
-
Jump stitches between design areas
-
Thread trimming instructions
-
Stitch order and sequence
DST stands for “Data Stitch Tajima,” named after the Tajima brand of embroidery machines, which originally developed this format. Today, DST files are compatible with most commercial embroidery machines, making them an industry standard.
Why DST Files Are Important
Embroidery machines cannot interpret images or graphics on their own. Without a proper DST file for embroidery, the machine would not know how to stitch the design. A well-prepared DST file ensures:
-
Accurate stitching – Every stitch is placed correctly for a clean final design
-
Machine compatibility – Works with most commercial embroidery machines
-
Efficient production – Reduces thread breaks, trims, and errors
-
Consistent results – Ensures identical designs across multiple garments
In short, a DST file acts as the blueprint for embroidery machines, transforming digital designs into stitched reality.
How a DST File for Embroidery Is Created
A DST file for embroidery is created through a process called embroidery digitizing. This process converts artwork, logos, or images into stitch instructions that machines can understand. Digitizing requires specialized software and technical expertise.
Steps in Creating a DST File
-
Design Analysis
The digitizer examines the artwork, identifies details, shapes, and size, and determines what adjustments are needed for embroidery. -
Selecting Stitch Types
Different parts of a design require different stitch types, such as running stitches, satin stitches, or fill stitches. -
Setting Stitch Direction and Density
Proper stitch angles and density ensure smooth embroidery without fabric puckering or thread breakage. -
Pathing and Stitch Order
The sequence of stitching is planned to optimize machine performance and reduce unnecessary trims. -
Exporting as DST File
Once completed, the design is exported as a DST file for embroidery, ready to be loaded into the machine.
A professionally digitized DST file ensures that your embroidery runs smoothly and the final result looks precise and polished.
Advantages of Using DST Files for Embroidery
The DST file for embroidery has become an industry standard because of its reliability and efficiency. Some key advantages include:
-
Wide Machine Compatibility: Most commercial embroidery machines can read DST files.
-
Small File Size: Lightweight files are easy to store and transfer.
-
Reliable Stitch Data: Designed specifically for embroidery machines, DST files reduce the chance of stitching errors.
-
Consistent Production: The same file can be used multiple times to produce identical results.
Using DST files ensures professional-quality embroidery and smooth machine operation.
Common Uses of DST Files
DST files are used in a wide range of embroidery projects, including:
-
Custom logos on uniforms
-
Embroidered caps and hats
-
Decorative designs on jackets
-
Sports team apparel
-
Promotional merchandise
-
Fashion embroidery
Whether for small businesses or large production facilities, DST files provide reliable and consistent results.
Tips for Working with DST Files
To get the best results from your DST file for embroidery, consider these tips:
-
Always Test the Design
Run a sample stitch to check for errors before starting full production. -
Use High-Quality Thread
Quality threads reduce thread breaks and improve the finished look. -
Maintain Your Machine
Regular cleaning and needle replacement prevent common embroidery issues. -
Check the Design Size
Make sure the DST file matches the intended dimensions for your project. -
Work with Professional Digitizers
Proper digitizing ensures stitch accuracy, smooth running, and professional results.
Following these practices can prevent errors, save time, and maintain embroidery quality.
Conclusion
The DST file for embroidery is the backbone of modern machine embroidery. It acts as a guide for embroidery machines, translating digital designs into perfectly stitched creations. By understanding what a DST file is, how it is created, and how to use it effectively, embroidery professionals can achieve smooth, accurate, and consistent results every time.
Whether you are producing custom apparel, branded merchandise, or decorative designs, a high-quality DST file ensures your embroidery looks professional and polished, saving time and minimizing errors.