

What to Check When an iPad Touchscreen Stops Responding
Map an unresponsive area on an iPad screen, compare finger and stylus input, and learn which details help a technician assess the touchscreen problem.

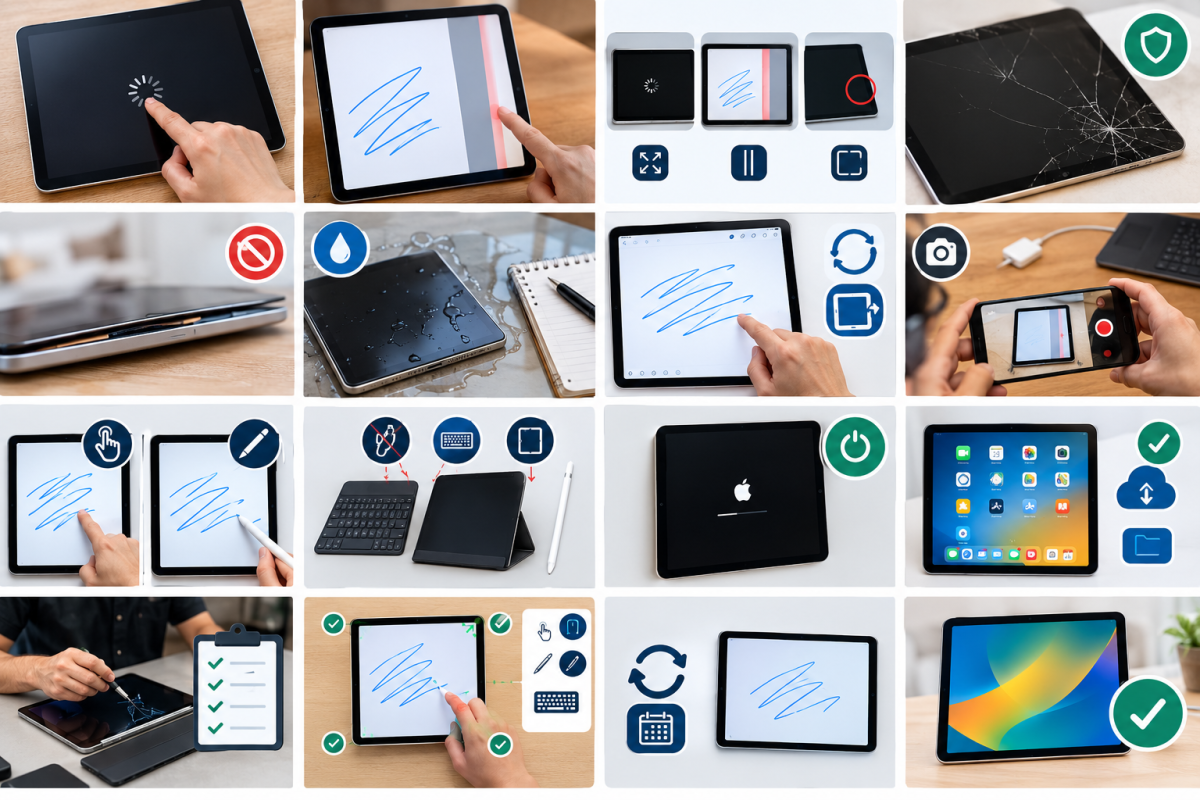
An iPad touchscreen not responding can make ordinary tasks surprisingly difficult. Sometimes the whole screen freezes. In other cases, a narrow strip refuses to register taps while the rest works normally. Those patterns deserve different descriptions when you ask for help.
Start by determining whether the issue belongs to one app, one input method, or one physical area of the display. Do not order a screen from a parts listing simply because a touch problem appears on the screen.
Check the physical condition first
Look for cracked glass, a bent frame, or a display separating from the body. Stop pressing on the screen if any of those are present. Do not try to flatten a lifted display or use a clamp to close the gap.
If the iPad has recently been dropped or exposed to liquid, write down the sequence of events. Include whether the touchscreen problem appeared immediately or later. An honest history is more useful than a guess about which part has failed.
Map the unresponsive area
If the screen is intact and safe to use, open a simple drawing or note-taking app you already trust. With a finger, draw a few lines across the display and observe whether gaps appear consistently in one area. Keep the drawing free of private information.
Rotate the device if the app supports it and compare the result. Record whether the trouble follows a physical part of the glass or a particular control in the app. This is a useful observation, not a definitive hardware test.
Take a photograph or short video with another device if that shows the fault more clearly. Note the orientation and whether the iPad was connected to a charger or keyboard.
Compare input methods carefully
If you use a compatible stylus, compare it with finger input. A stylus-only problem and a screen area that ignores all input are different complaints. Identify the stylus model and its compatibility before assuming the tablet's display is responsible.
Disconnect optional accessories for a comparison. Apple includes accessory disconnection and case or protector removal among its touchscreen checks. Across any such test, make one change at a time and avoid handling broken glass.
Restart using the instructions for your iPad model if it is appropriate. Do not confuse an ordinary restart with a restore process that may erase the device.
Preserve the work stored on the tablet
If you can still navigate safely, check that notes, artwork, and school or business files are saved. Some applications require their own export or synchronization steps. Verify important items from another device before service where possible.
When asking Repair My Devices about an inspection, describe the mapped area, input methods tested, and any damage history. Mention unbacked-up work before authorizing anything that could erase it.
Agree on the collection test
Ask which touch functions and accessories will be checked after repair. Bring your usual stylus or keyboard only if the shop requests it, and include those items on the handover record.
Repeat the same simple drawing at collection and test controls near the screen edges. If the issue occurred only after extended use, ask how to report a recurrence. Consistent observations make it easier to establish whether the original complaint has been resolved, instead of relying on a quick tap in the center of the screen.
Source note: Apple screen troubleshooting.


Comments (0)